
 Author:
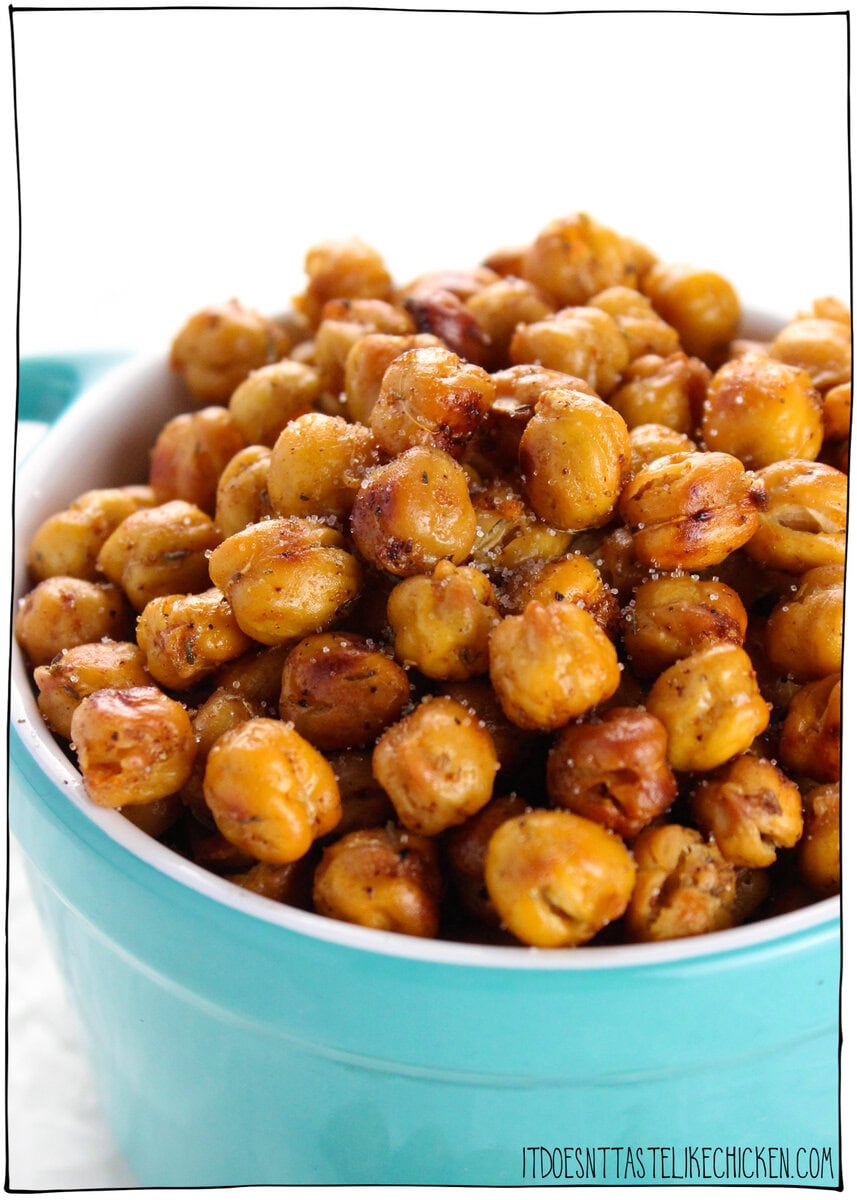
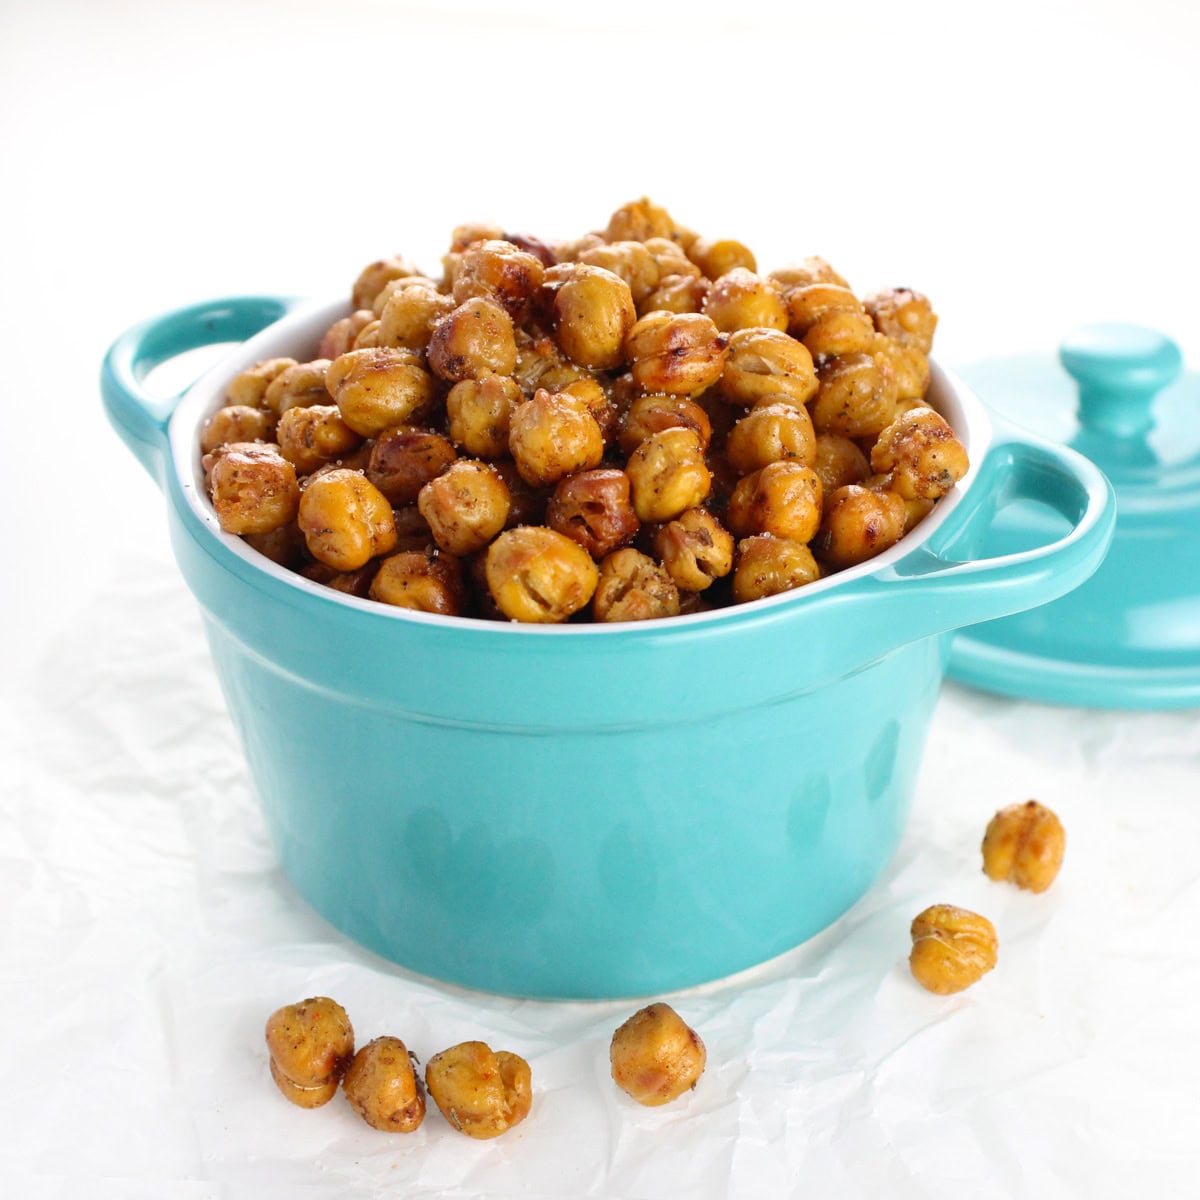
 These crispy roasted chickpeas are golden, crunchy, and actually stay crispy. If you've ever ended up with soft or chewy chickpeas, this method fixes it. The secret is dry roasting first, then adding oil and seasoning at the end for the best crunch.

If you've ever tried to make crispy roasted chickpeas and ended up with ones that were soft, chewy, or only briefly crispy… you're not alone. A lot of recipes suggest spending time drying the chickpeas first, but even then, they often don't turn out truly crunchy.
After a lot of testing (and a lot of chickpeas!), I found the trick: dry roast first, then add oil and seasoning at the end. This simple switch makes all the difference. The chickpeas dry out properly in the oven, so instead of steaming, they crisp up beautifully.
The result? Chickpeas that are golden, crunchy on the outside, slightly tender inside, and actually stay crispy long enough to enjoy. No towel-drying required, the oven does all the work for you. Once you try it this way, it's you won't go back.
Why This Roasted Chickpea Recipe Actually Works
- Dry roasting first removes moisture so the chickpeas get truly crispy
- Adding oil later prevents trapping moister in so they actually get crunchy, not soggy
- High heat creates a golden, crispy exterior
- Shaking the pan helps them dry evenly on all sides
Why Your Chickpeas Aren't Crispy (and How to Fix It)
If your roasted chickpeas have ever turned out soft, chewy, or disappointing, this is why:
- Not drying them enough → fix: dry roast first
- Not shaking the pan → they steam instead of crisp
- Overcrowding → no airflow
- Storing in airtight container → they soften
How to Make Crispy Roasted Chickpeas
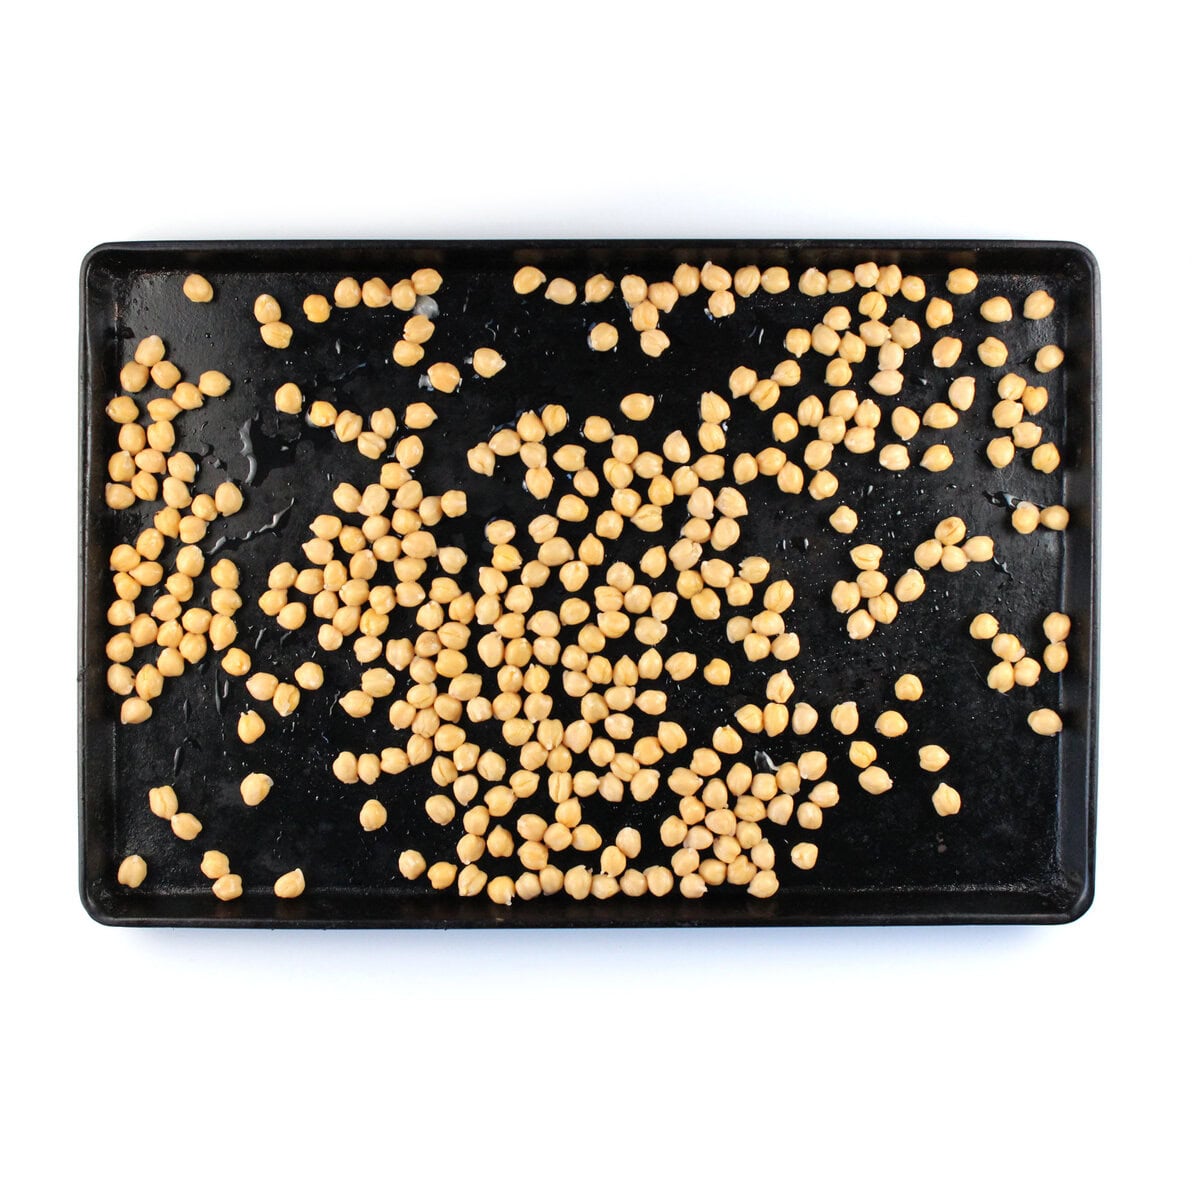
- Dry roast the chickpeas: Spread the chickpeas in a single layer on a baking sheet or air fryer basket. It's okay if they're still a bit wet. Cook until the chickpeas look dry and slightly firm on the outside: Oven: about 25-30 minutes. Air fryer: about 18-20 minutes. Shake the pan or basket once or twice during cooking.
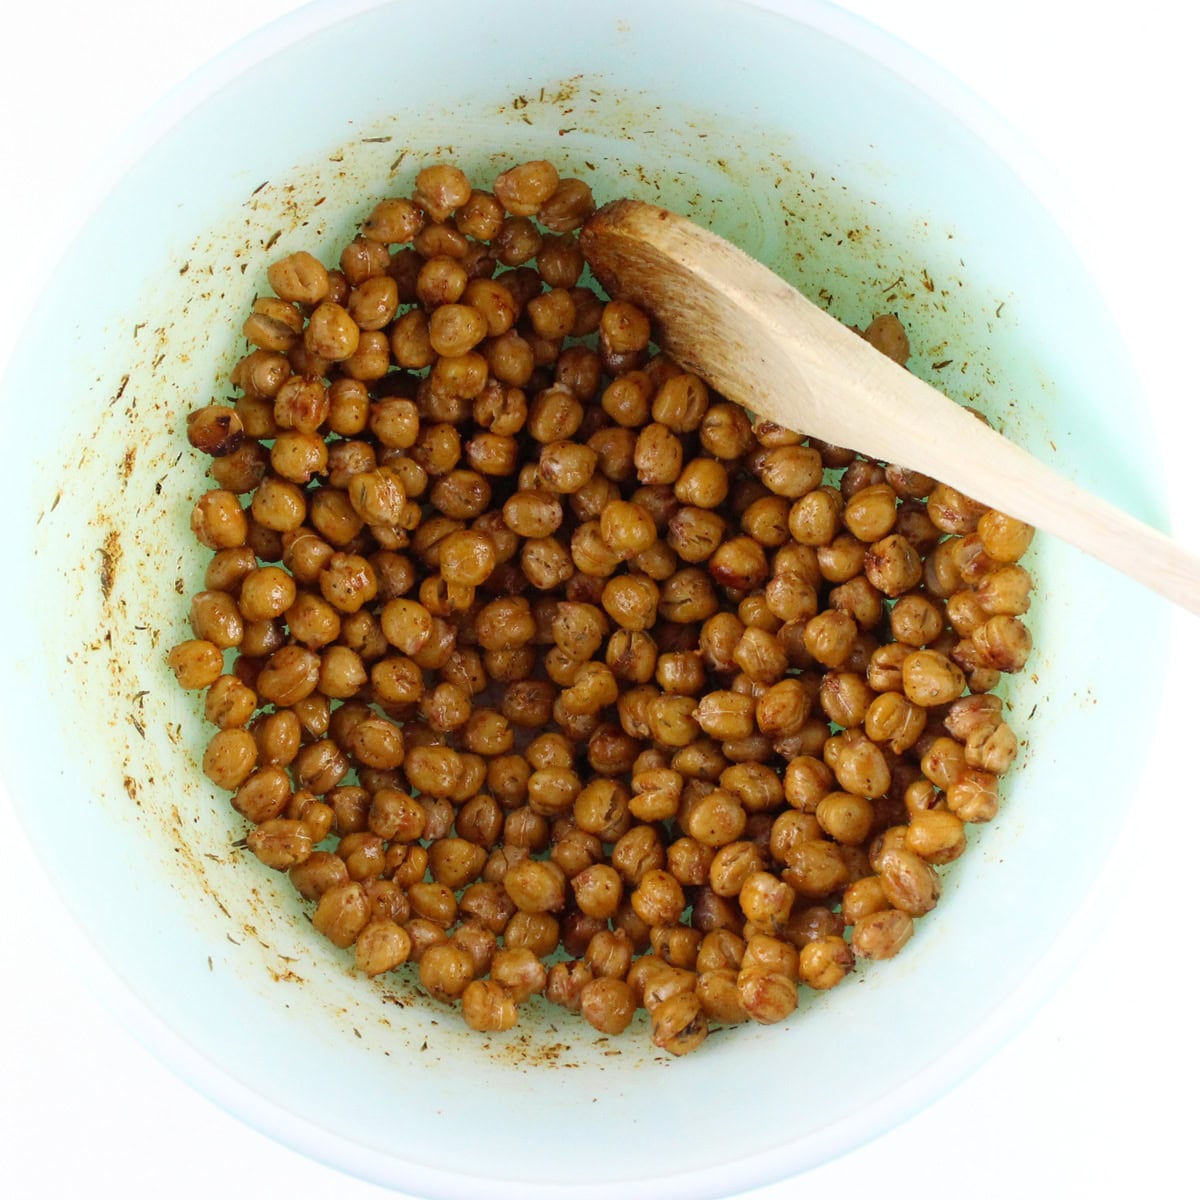
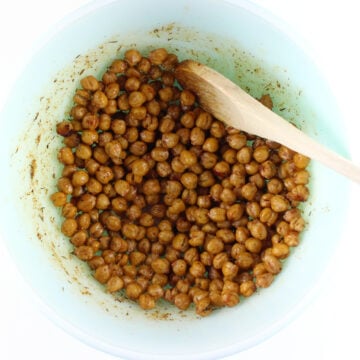
- Season: Transfer the hot chickpeas to a bowl. Add the oil and salt (and any additional seasonings, if using). Toss well to coat evenly.
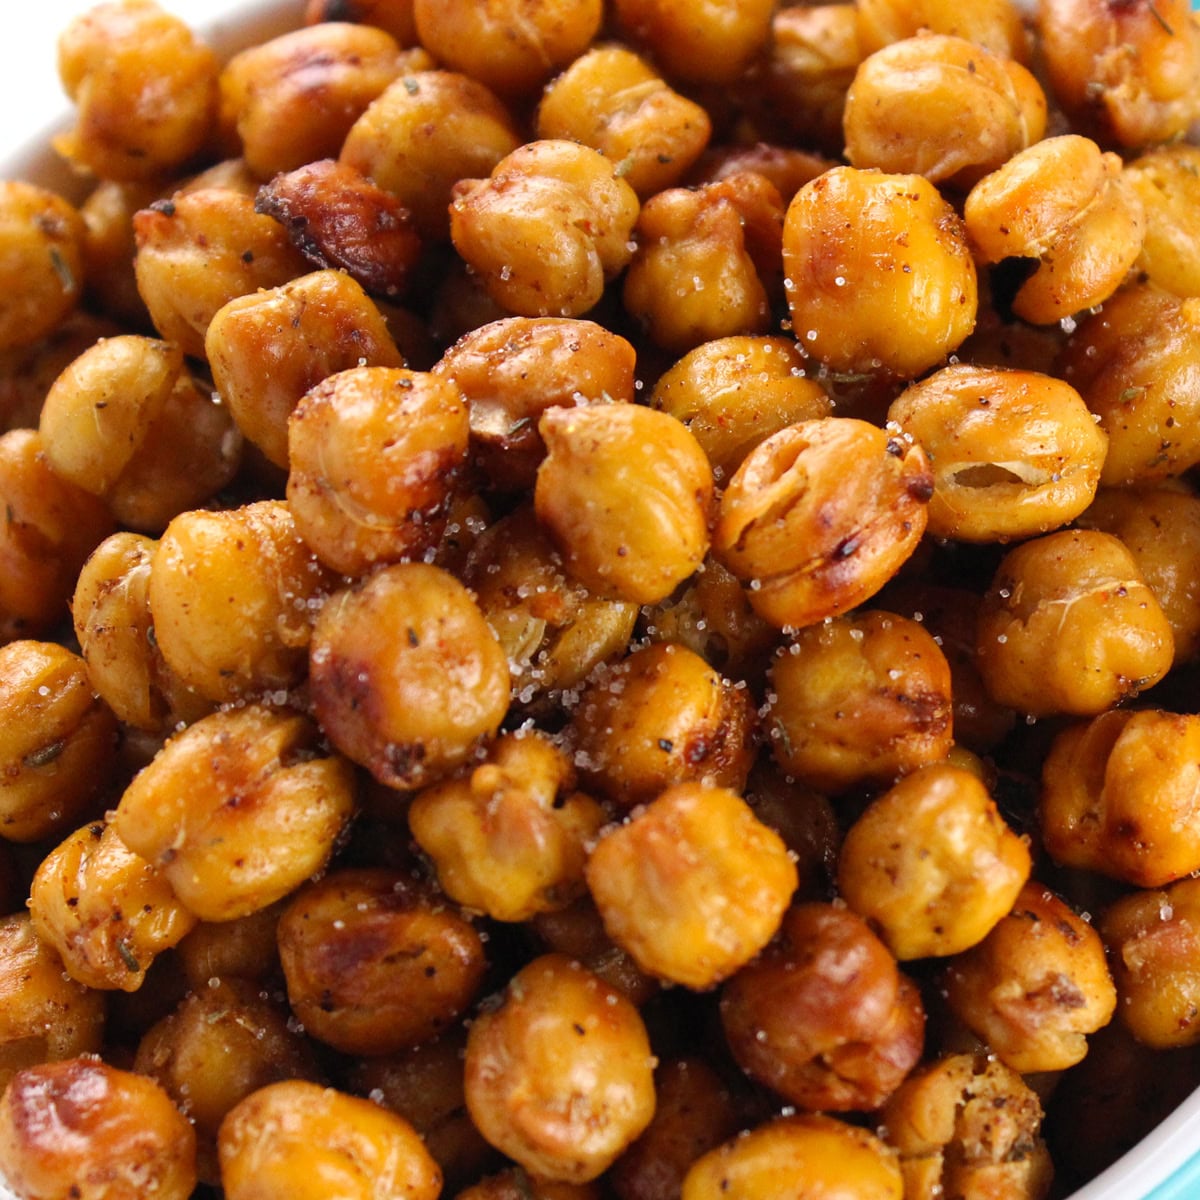
- Roast again until crispy: Return the chickpeas to the baking sheet or air fryer and cook until golden and crispy, shaking occasionally: Oven: 10-15 minutes. Air fryer: 8-12 minutes.
- Cool slightly & enjoy: Let cool completely on the baking sheet (they crisp up even more as they cool), then enjoy!
Tips for Extra Crispy Chickpeas
- Use a large baking sheet so air can circulate around the chickpeas
- Shake the pan during roasting so they dry on all sides
- Make sure they are dry before adding oil and seasoning
- Let them cool completely on the pan (this is when they crisp most)
- Season your way: Once the chickpeas are dry roasted, toss them with your favorite spices, then return to the oven for the final roast.
How to Serve Crispy Roasted Chickpeas
If you can resist not eating them all straight from the pan, here are a few more ways to enjoy your roasted chickpeas:
- Enjoy as a snack
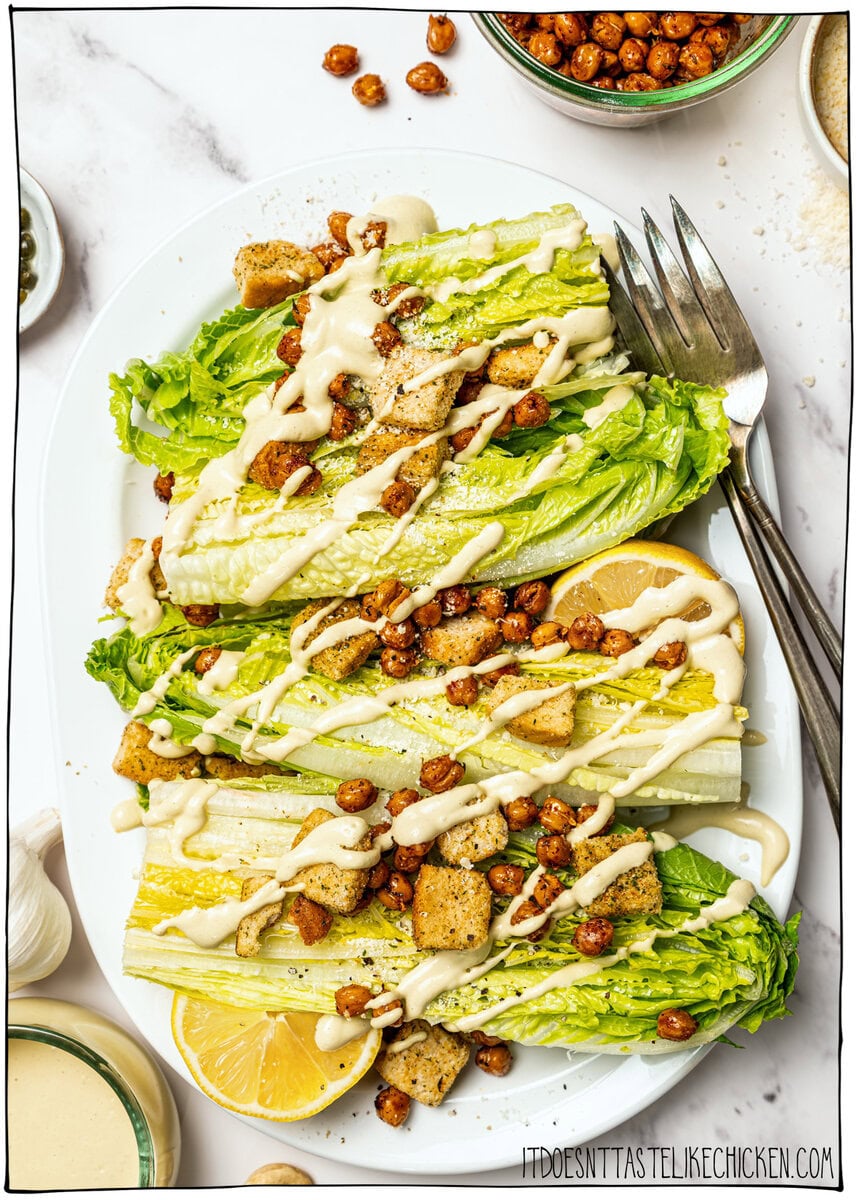
- Use as a salad topper such as on a Vegan Caesar Salad or Warm Kale Salad
- Add to grain bowls
- Sprinkle on top of soups like my Easy Lentil Soup or Go-To Tomato Soup
- Add to a bowl of popcorn for extra crunch
FAQ's
- Why aren't my roasted chickpeas crispy? The most common reason is moisture. If chickpeas still contain too much water when oil is added, they steam instead of roast. Dry roasting first removes that moisture so they can crisp properly.
- Do I need to peel chickpeas for them to get crispy? Nope! Peeling is optional and not necessary for this method. Dry roasting does the heavy lifting and gives you crispy chickpeas without the extra work.
- Why do my chickpeas go soft after baking? Roasted chickpeas naturally soften over time, especially if stored in an airtight container while still warm. For best results, let them cool completely before storing, or re-crisp them in the oven for a few minutes.
- Can I make roasted chickpeas in the air fryer? Yes! Air fry at 350°F (180°C), shaking once or twice during cooking. Just like the oven method, dry roast first, then add oil and seasoning before finishing.
- How do I keep roasted chickpeas crispy longer? Let them cool completely on the pan, then store loosely covered or in a container that isn't fully airtight. If they soften, simply reheat in the oven or air fryer to bring back the crunch.
Storage and Re-Crisping
- Roasted chickpeas are best eaten fresh while crispy. They will soften over time, especially in airtight containers.
- To re-crisp, bake at 375°F for 5-10 minutes or air fry for a few minutes.
More Chickpea Recipes To Try
- Chickpea Curry
- The Best Easy Hummus
- Chickpea Salad with Creamy Smoky Tahini Dressing
- Dense Bean Salad
If you try these crispy roasted chickpeas, let us know by leaving a comment and rating it. I'd love to see what you made. Share your creation in the It Doesn't Taste Like Chicken Community (this is where we're all hanging out now!) or tag @itdoesnttastelikechicken on Instagram.
Bon appetegan!
Sam Turnbull.

(click stars to vote)
Best Crispy Roasted Chickpeas (Actually Crunchy!)
Servings:
PRINT
PIN
Video
COMMENT
Ingredients
Optional seasonings (choose one):
Chili Thyme
- ½ teaspoon chili powder, (or paprika)
- ½ teaspoon dried thyme leaves, (or garlic powder)
Garlic paprika
- ½ teaspoon garlic powder
- ½ teaspoon smoked paprika
Instructions
- Preheat: Preheat oven to 375°F (190°C) or air fryer to 350°F (180°C).
- Dry roast the chickpeas: Spread the chickpeas in a single layer on a baking sheet or air fryer basket. It's okay if they're still a bit wet. Cook until the chickpeas look dry and slightly firm on the outside:• Oven: about 25-30 minutes• Air fryer: about 18-20 minutesShake the pan or basket once or twice during cooking.VERY IMPORTANT: Shaking helps release the chickpeas so they can dry out on all sides. You'll know they're ready when they've shrunk slightly (some may have burst open), roll around easily, and look a bit darker and dry on the outside. They should also sound slightly "noisy" when shaken on the baking sheet. If they still feel soft or quiet, give them a few more minutes.

- Season: Transfer the hot chickpeas to a bowl. Add the oil and salt (and any additional seasonings, if using). Toss well to coat evenly.
- Roast again until crispy: Return the chickpeas to the baking sheet or air fryer and cook until golden and crispy, shaking occasionally:• Oven: 10-15 minutes• Air fryer: 8-12 minutes

- Cool slightly & enjoy: Let cool completely on the baking sheet (they crisp up even more as they cool), then enjoy!
Amy says
I've just made these and they are amazing! So crispy and delicious, perfect for snacking on when revising!! All of my previous attempts have ended up soggy, thank you so much!
Sam Turnbull says
Wonderful!! So thrilled you loved them so much, Amy 🙂
Valarie Hirst says
What about using fresh Chickpeas/Garbanzo Beans? I have a recipe to fry them for 30-45 minutes until they are golden brown, but I want something healthier with the same hard crunch. With the fresh chickpeas we cook them over night and then strain them for about 2-3 hours before frying them so they are dry. I think next time when I make them I'll try to bake them after they have dried. We used fresh thinly sliced hobbanaros and serrano's, a little minced garlic, and salt+pepper for flavor after they were done when they were still nice and hot. They are super yummy!!
Valarie Hirst says
Soak them over night not cook* sorry Haha
Sam Turnbull says
Hi Valarie, canned chickpeas are cooked, boil I believe, so I would boil them first, drain and rinse, then proceed with the recipe. Enjoy!
Jo B. says
Finally! I've been scouring the internet for roasted chick pea recipes, not for the recipes but to find out what state the peas should be in before starting. It's as if recipe writers have no idea that chick peas are hard and dry in their natural state. You'd think cooking or buying them cooked or canned would be part of the recipe.
Steve says
Amazing recipe, the dry roast first before the seasoning made a huge difference. Since trying your original recipe we’ve tried all sorts of variations but the favorite is using this as a substitute for a go to snack classic of wasabi peas. The chickpea is lower cal and most people that try them say they are at least as good if not better. Thanks again for the great recipe!
Sam Turnbull says
You're most welcome! I'm so happy you love the recipe so much, Steve 🙂
Meghan says
I have a batch in the oven right now, but I used chili and curry powder! I have an exam tomorrow right before dinner so this will be the snack to get me through it!
Sam Turnbull says
Awesome! Best of luck on your exam 🙂
B says
Oh my goodness these are amazing! Thank you for a great recipe!
Sam Turnbull says
You're most welcome, B!
Deb says
You should remember to mention oven temp in the video.
Jocelyn says
She puts it on here, so it's a big deal and maybe you should learn some manners.
Coelle Baskel says
1st time seeing her and her recipe and I had to search and search for the pre-heat oven temp.....I almost gave up....so I found your post to be informative for her as you'd think it would be a 1st mention in her video...or at the top of the recipe.
Sam Turnbull says
Hi Coelle, sorry you must have missed it, the oven temp in in step one of the recipe. I forgot to mention it in the video but did put it in the description box, and of course, the full written recipe is right here.
Joe says
375 degrees as stated in the instructions.
Rachel says
I made these for the first time tonight and they are AMAZING. I had to pack them away to keep from eating two can’s worth by myself. I cooked them on tin foil (to keep the pan clean) and parchment paper (so they were easy to get in the bowl for seasoning). Maybe because of this, I had to add about 15 minutes so they would get really crunchy. But boy are they crunchy. I seasoned with salt, a little garlic powder, and a tiny bit of cayenne. Next time I’ll definitely add a little paprika and maybe chili powder. I would love to try a sweet version if these. Maybe brown sugar and vanilla?
Sam Turnbull says
So very happy you love them so much, Rachel! The sweet idea sounds great too!
Steve says
Honey and sea salt are great, same with sugar free maple syrup and cinnamon if you’re looking for sweet alternatives.
We’re going to try an adult toasted almond version tomorrow with khalua and amaretto, will let you know how it goes
Diana says
Hello, Sam!
Just discovered your blog and I love it! Specially this roasted chickpeas recipe. I will give it a go and let you know how it goes, but I bet it is amazing as everyone in the comments is saying!
I have a question, though. I'd love to make a batch in my meal prep day, but I'm not sure how long they will stay crunchy and fresh. How long maximum would you recommend to store them?
Sorry if my English isn't quite well, I'm a spanish speaker.
Diana.
Sam Turnbull says
Hi Diana, your English is great! They will keep for a couple of days in an air-tight container. They may soften a bit the longer you keep them, so make sure they are extra-dry before removing them from the oven, and keep them away from any moisture. Enjoy!
SC says
Finally! Crunchy chickpeas to nosh on! I almost gave up on ever making my own crunchy chickpeas and was just going to resort in forking a lot of money for the little bags sold in stores. I'm so glad that I found your recipe and your tip on making it crunchy. Thank you!!! I've already made 3 double batches in a week!
Sam Turnbull says
Haha! Awesome! So thrilled you love them so much 🙂
Samuel says
SAM!
This is the best recipe I have ever used and I am literally eating these as I type! 😀
Thank you so much for sharing your secret to getting that amazing crunch. I used a mixture of oil, splash of lemon juice and salt and pepper for my seasoning and it is just delicious! Healthy and oh so cheap (a can of Chickpeas costs under a dollar here in Australia- very cheap). The only downside to this is that I only purchased one can! 😛
Thanks again! Can't wait to try more of your recipes! <3
Sam Turnbull says
That's so awesome, thrilled you love the chickpeas so much. And great name by the way 😉
Samuel says
Hey Sam! So, I’ve made these a few tunes now (all have been perfect) and now my neighbours are asking me to make them for them! Lady who lives next door asked me to make a ton for her housewarming thing tonight and bring them along- I am in the middle of making the biggest batch ever! So glad I found this recipe so thank you and a big thank you from my neighbours haha! Kinda regards
Sam xx
Sam Turnbull says
Hahaha! That's awesome!!! Thrilled you and all your neighbours are enjoying them so much 🙂
Marilyn says
Will this work with dry chickpeas? I saw it said fresh but I don't see them fresh in our area. They sound really good.
Sam Turnbull says
The chickpeas need to be cooked before you can make this recipe. So canned chickpeas, or chickpeas cooked from dry. Enjoy!
Marilyn says
Thank you. I thought so but I thought maybe you could buy fresh chick peas like fresh green beans. I haven't been cooking from scratch for long.
Steve says
I use dry chickpeas for this and they work fine. You need to either soak them overnight or boil them for a couple minutes and let them sit in the hot water for an hour. From there just follow the instructions Sam gave. They come out great and no unnecessary salt and BPA’s from the canned variety
andrea says
Hi! Love your website and cookbook. Question, I want to make these for a party, and I know you said they are best fresh, but do you think I could make them several hours in advance and they'd still be ok?? They will be served on the side of a vegan charcuterie spread. Thanks for your help! 🙂
Sam Turnbull says
Yes, several hours should be fine. Just make sure they are extra crunchy before removing them from the oven. Enjoy!
Christy Owens says
I just made a batch of these chickpeas and they turned out perfectly! Crunchy and delicious. Glad to have a healthy new snack/salad topper.
I did use my convection oven and set to 350 because that has worked well for me with other difficult to crisp recipes (apple chips, etc.).
Thanks for a great recipe.
Sam Turnbull says
So happy you enjoyed them, Christy!
Nancy says
Love your website! I’m not vegan, but I got bit by the lone star tick and now I’m allergic to all mammalian meat, milk, cheese, and butter (poultry and fish are safe). I found your blog searching for vegan cheese recipes (the gooey mozz is now at the top of the list of favorites!).
Anyhoo, I miss my favorite snack - Snyder’s Honey Mustard and Onion Pretzel Pieces (they contain whey). I really miss the tangly, sweet and crunchy. So I decided to try making my own, and using roasted chickpeas rather than pretzels. I coated them in a mix of honey, dijon mustard, ground mustard, onion powder, garlic powder, and salt. They’re pretty wet after coating, so I reduced the oven temp and cooked them a little longer so they can dry out but not burn (still experimenting with this).
I made a batch yesterday, and they got soggy overnight. I returned them to a 300 degree oven for about 30 minutes, and they’re crunchy again.
Sam Turnbull says
Wow! What an unusual bite to get. So thrilled you love my mozzarella so much, and interesting idea about the chickpeas!
Shelly says
I've been searching for a recipe to get me the crispiness and crunchiness of a fryer without the whole frying part 🙂 I just made these and they are already half gone. I fear by EOD I won't have any left! They are insanely wonderful! I added them to a baby kale salad with lemon vinaigrette and grilled salmon and they were the perfect addition. I used used garlic instead of regular salt and added a couple dashes of smoky paprika as well 🙂 THANKS!
Sam Turnbull says
Oh that's so wonderful, Shelly! Thrilled you enjoyed them! Yes, mine never last more than a day for sure!
Itriedit says
Super delicious! I used my air fryer. Al the crunch in half the time. Thank you for sharing this with us!
Sam Turnbull says
Awesome! Glad you enjoyed it 🙂
Mary Be says
I love the idea of roasting the chickpeas plain first and skipping the whole "pat dry" step. I may experiment with doing the initial roasting on parchment or a silpat or aluminum foil to make it easy to get them into a bowl for the seasoning step.
Sam Turnbull says
Enjoy!
Devetta Ridgwell says
Thank you, thank you, thank you!!! I stumbled upon this recipe and gave it a go! This is truly a fabulous recipe. I make these and take them with me into the movies! I prefer to eat this than popcorn!
Sam Turnbull says
Haha that's so awesome!! 😀
Lewis says
Well hold my mule while I dance!!
How scrumptious! These little balls of wonder are fantastic. Stumbled across this recipe and they turned out fantastic. Made a few modifications–added a dash of Chipotle pepper and a few turns of black peppercorns, and drizzled apple cider vinegar over them while they coolled! I will be making these again for sure. May even sell them at our new restaurant.
Love these.
Thanks for the easy to follow recipe.
Xoxoxo
Lewis
Sam Turnbull says
Hahaha, you're most welcome, Lewis, so happy you enjoyed 🙂
Jillian says
Hi Sam,
I have tried this recipe twice and for whatever reason my chickpeas are coming out slightly crispy on the outside & soft & mushy on the inside. I’ve tried increasing my initial bake time (before adding the seasoned olive oil) by 5-10 minutes; but with no luck. Any other suggestions?
Sam Turnbull says
Hi Jillian, they will be still a little soft in the middle but should be pretty crunchy on the outside. When you dry roast them they should be pretty crunchy at that point. It's hard to say without being in the kitchen with you, perhaps your oven is running a little cold? It's not uncommon. Sorry I can't be more help!