
 Author:
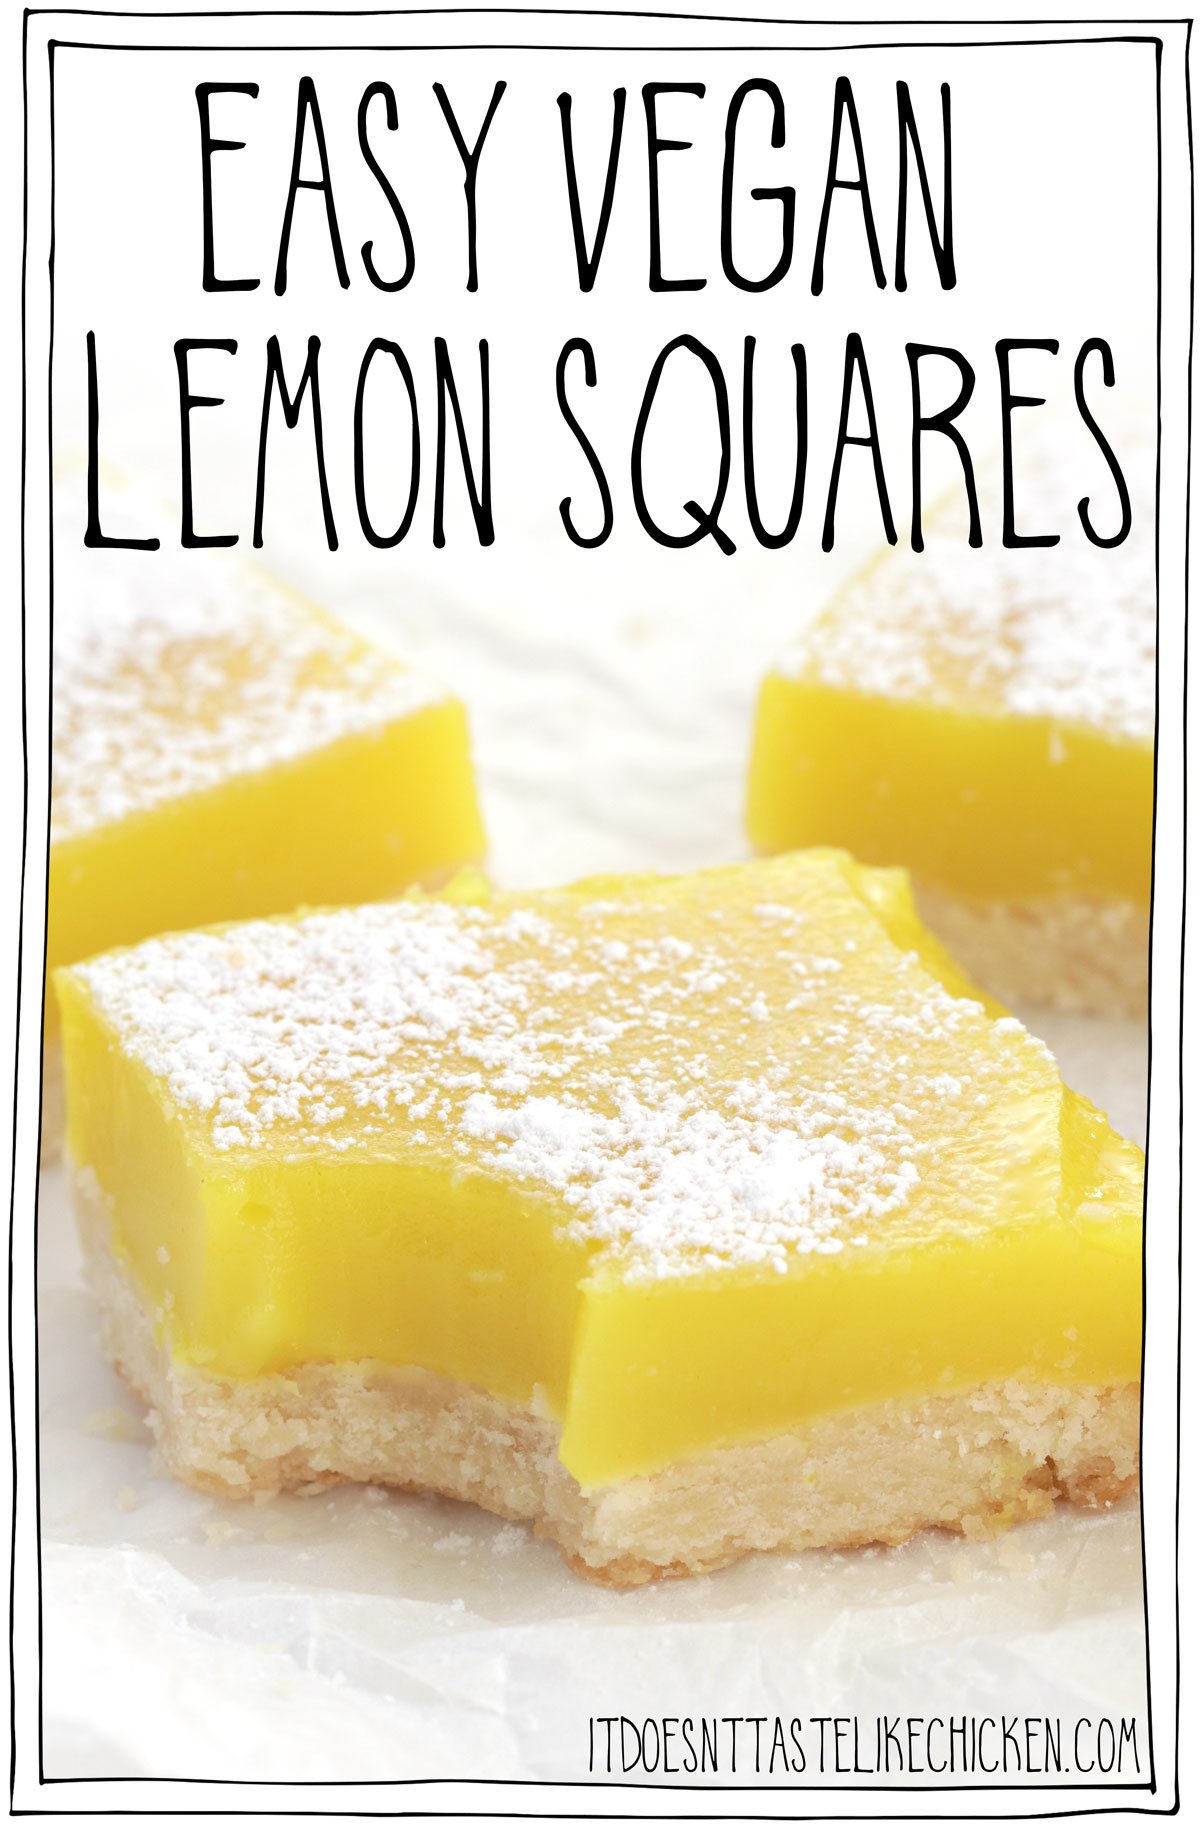
 Confession time: I LOVE lemon bars! Although, traditionally, they are made with eggs and butter, making them not at all vegan. Enter, Sam Turnbull: Veganizer at large!! Trust me when I say these Easy Vegan Lemon Squares are over-the-top scrumptious, delicious and (as always) you don't need eggs, butter, or any animal products to make them. How's that for a game changer of a vegan dessert recipe, eh?
My Easy Vegan Lemon Squares are super easy to make with ingredients you may already have around your kitchen. I'm not sure how familiar you are with me and my recipes, but that's kind of a "theme" around here: fast, easy, cheap, fuss-free, and delicious!!
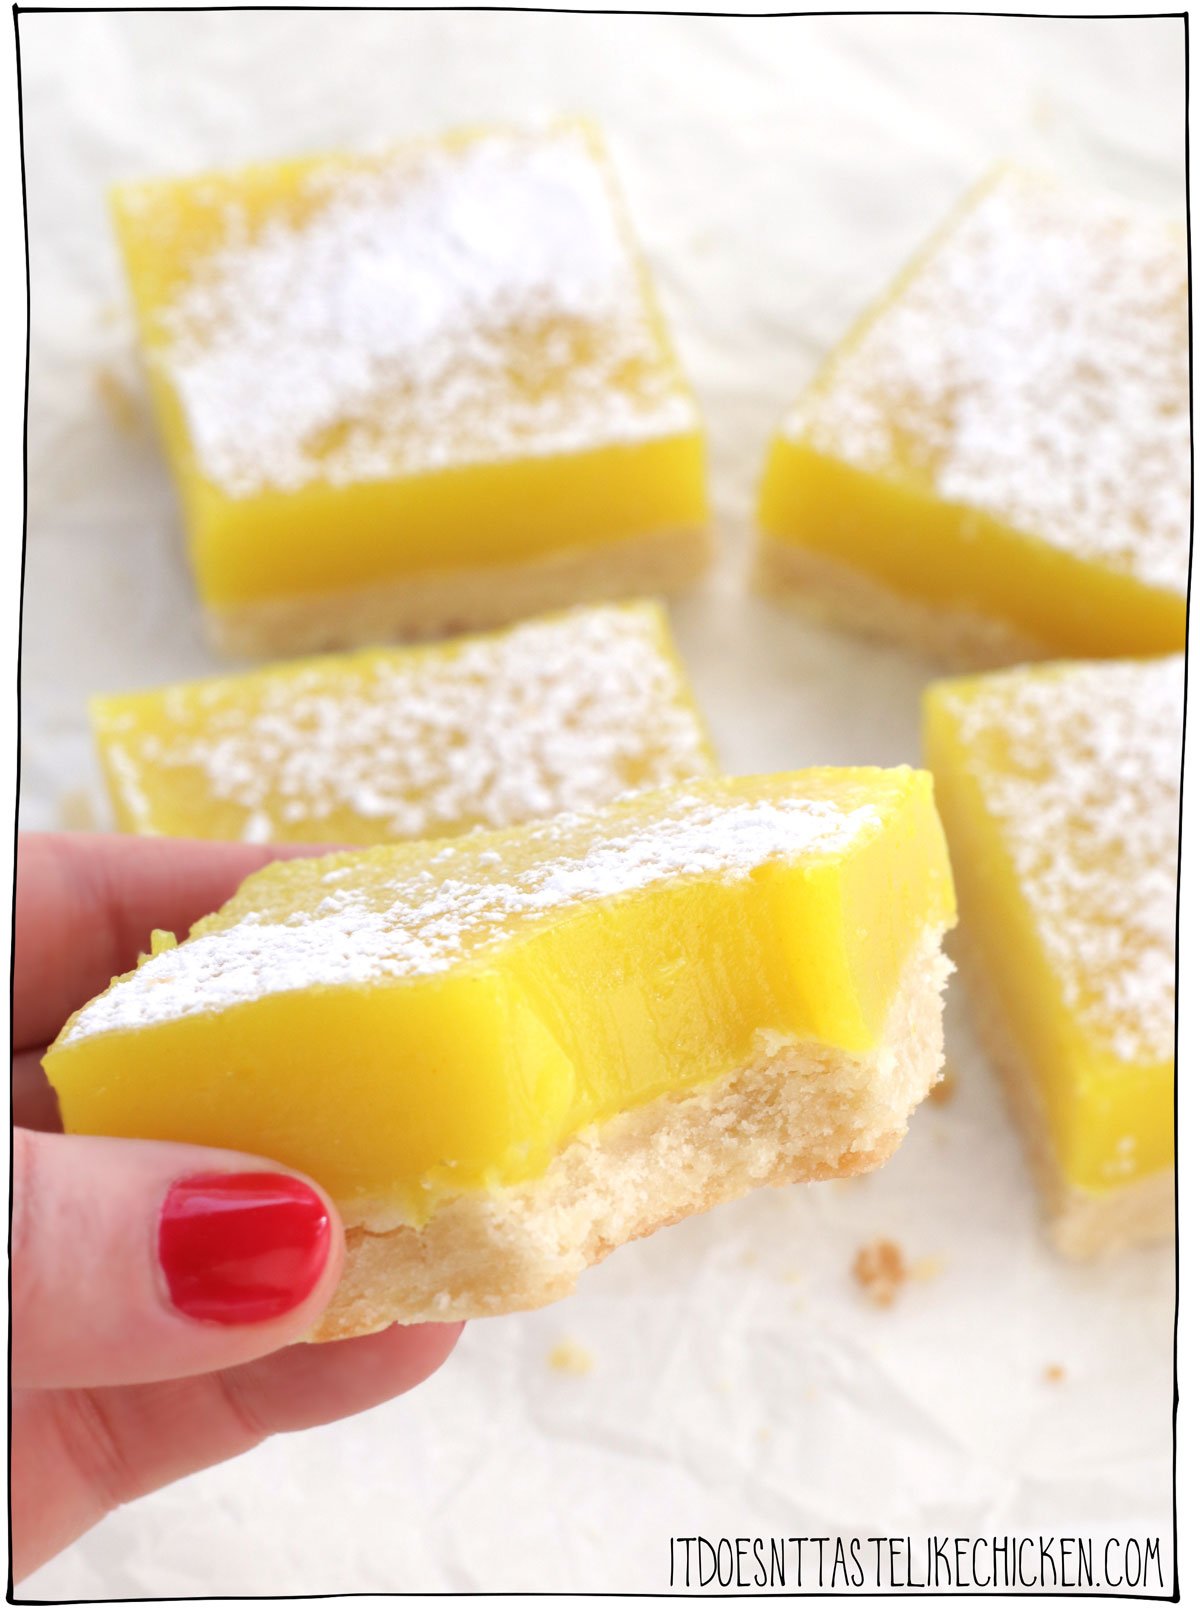
The buttery, crunchy crust will delight at first bite before melting in your mouth and the fresh, tart lemon curd is a refreshing companion to that flavour. These bars are fast-becoming a new favourite in my house. Seriously - we can't stop eating these things!!
How To Make Easy Vegan Lemon Squares:
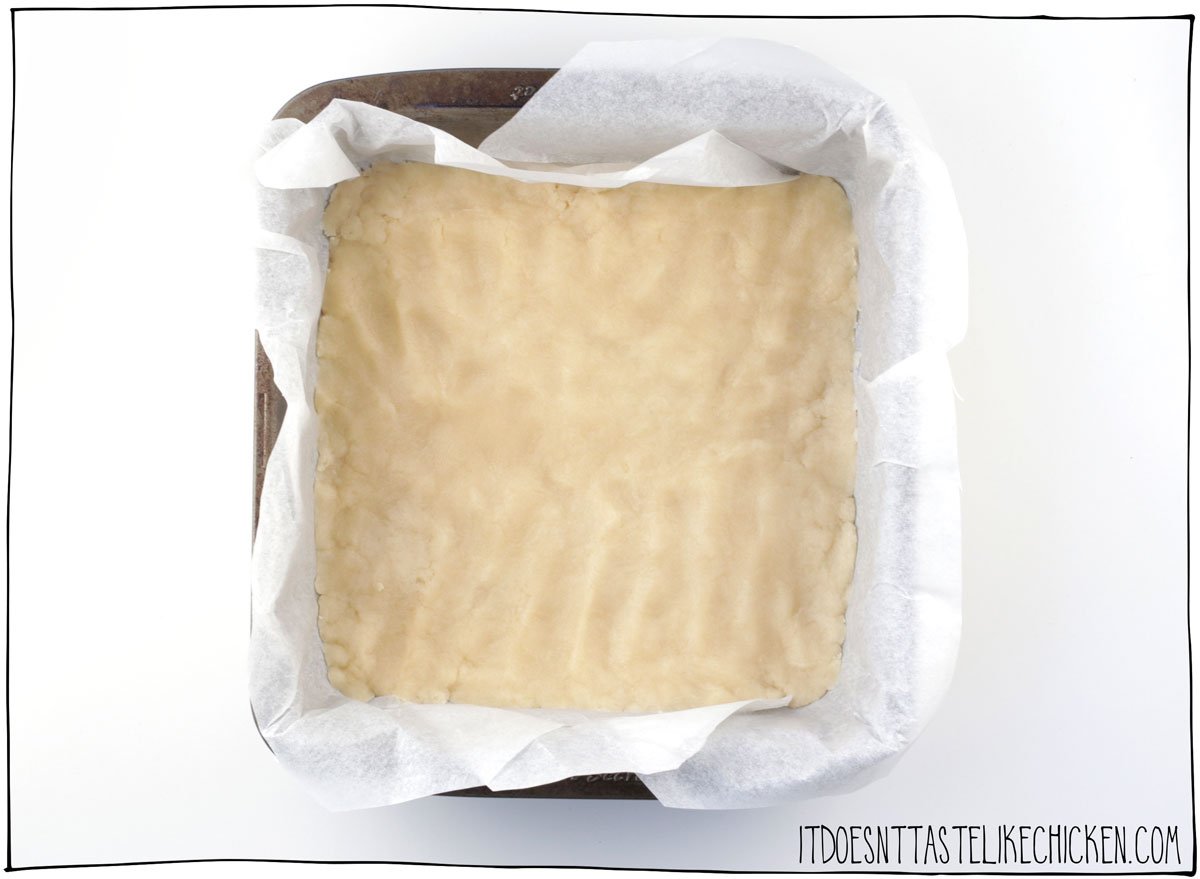
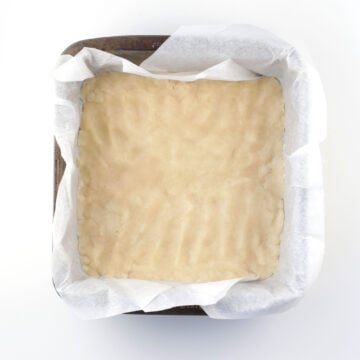
For the shortbread crust: Preheat your oven to 325F (170C). Line an 8" x 8" pan with parchment paper, leaving overhang on the sides so the bars are easy to remove from the pan. Alternatively use a silicon pan.
In a medium bowl, add the melted vegan butter, sugar, vanilla extract, and salt. Mix to combine. Lastly add the flour and mix to make a firm dough. Dump the dough into the prepared pan and press with your fingers to firmly pack and evenly spread the dough. Bake for 17 - 19 minutes until the dough is golden around the edges. Remove from the oven and if there are any bubbles you can poke them with a fork to remove them. Set aside.
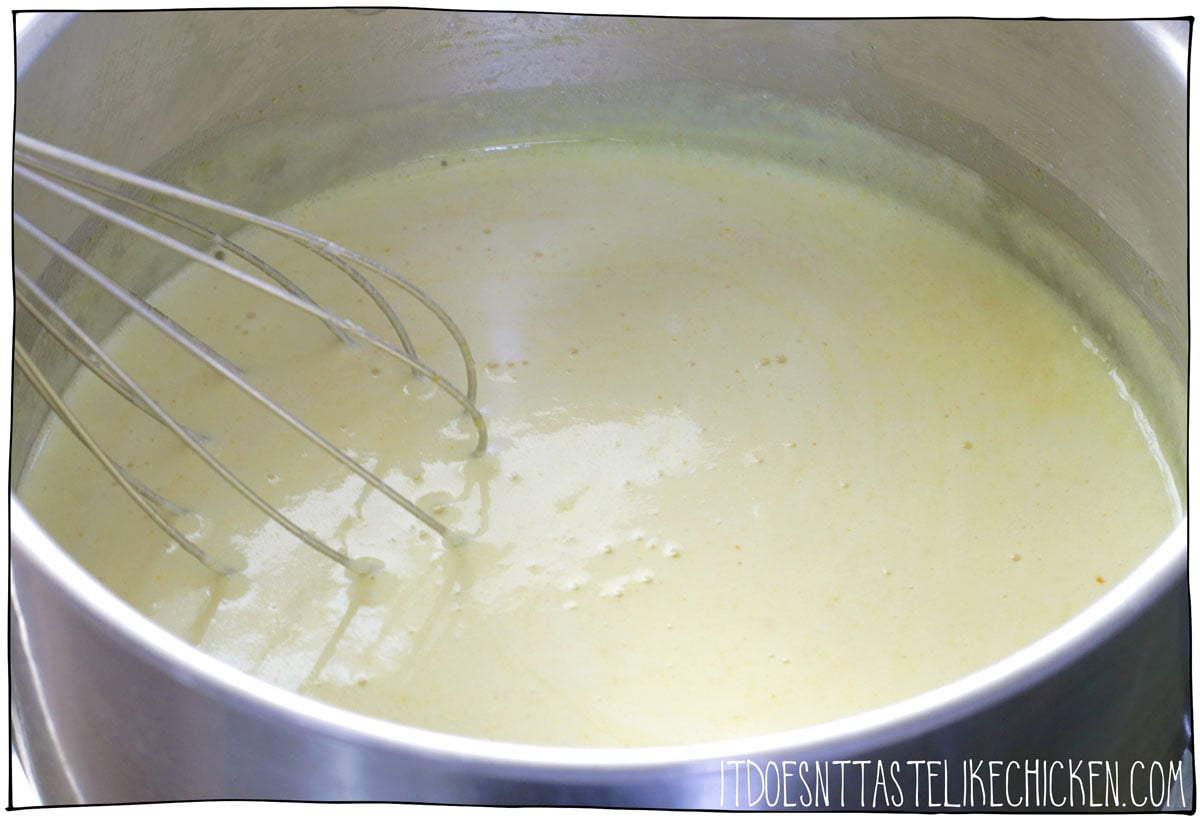
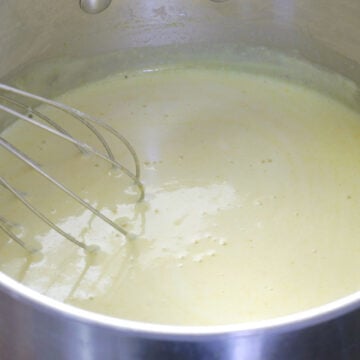
For the easy vegan lemon squares layer: Add the sugar and cornstarch to pan and whisk to combine. Add the plant-based milk, lemon juice, and turmeric and whisk. (It's ok if the milk curdles, it will come back together when cooked).
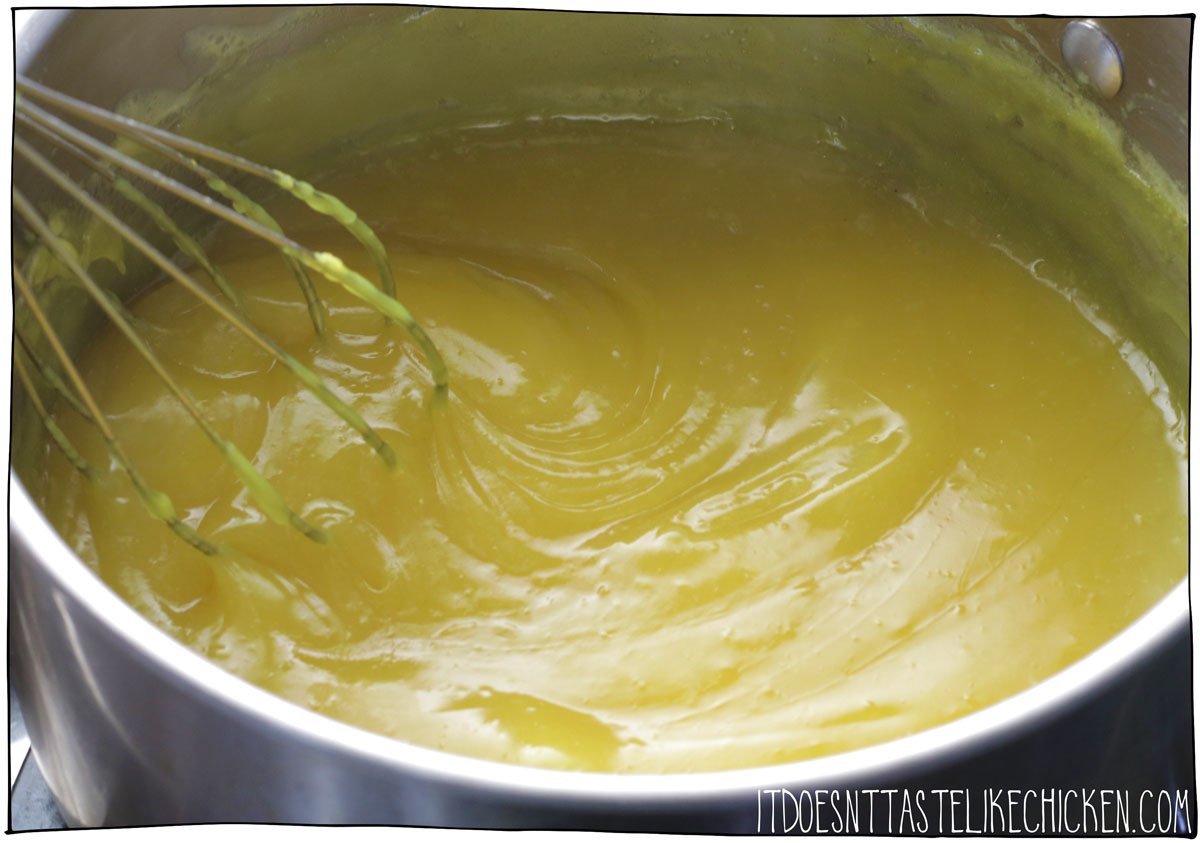
Now put the pot over medium-high heat and bring to a simmer. Whisk often while simmering until the lemon square filling gets thick, translucent, and bright yellow, about 5 minutes. Remove from heat and whisk in the vanilla extract.

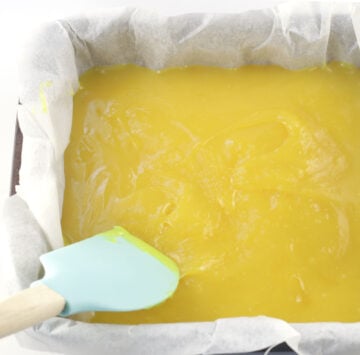
Pour the lemon layer onto the baked shortbread crust and evenly spread with a spatula. Allow to cool on the counter for about 30 minutes and then pop it in the fridge to cool for 1 - 2 hours, or overnight until completely chilled. When chilled you can remove bars from the pan and slice.
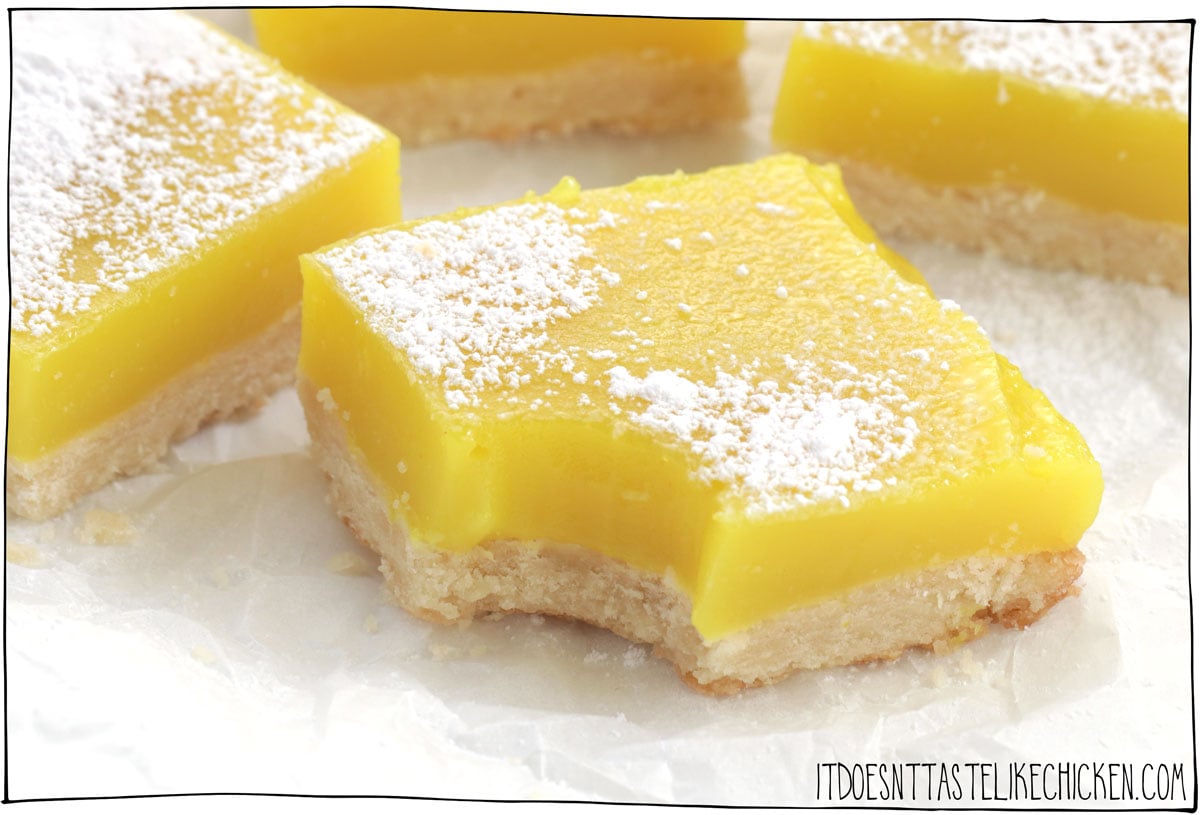
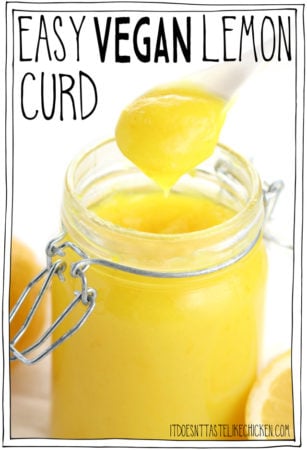
Sprinkle the lemon bars with powdered sugar if desired, just before serving. Store your easy vegan lemon squares in an air-tight container in the fridge for up to 1 week. If you would like to try another, more spreadable lemony recipe that you can spread on scones, try my Easy Vegan Lemon Curd.
Common Questions:
- Can I make lemon bars gluten-free? Yes! If you swap out the all-purpose flour for a gluten-free, it should work perfectly! Check out the comments below as some people have already tried this and had great success 🙂
- How long do lemon bars keep? If kept covered, lemon bars can keep in your fridge for about 1 week.
- Can you freeze lemon bars? Yes, you can. Lemon bars can be frozen for up to 3-4 months if stored away in an air-tight container. Simply cut the cooled bars (without powdered sugar topping) into squares, then place in a container and freeze.
Bon Appetegan!
Sam Turnbull.

(click stars to vote)
Easy Vegan Lemon Squares
Servings: large bars
PRINT
PIN
COMMENT
Ingredients
For the Vegan Shortbread Crust:
- ½ cup vegan butter,, melted
- ¼ cup white sugar
- 1 teaspoon vanilla extract
- ¼ teaspoon salt
- 1 cup all-purpose flour
For the Vegan Lemon Layer:
- 1 ⅓ cups white sugar
- 6 tablespoons cornstarch
- 1 ⅓ cup plant-based milk, (such as oat or soy)
- ½ cup lemon juice
- ¼ teaspoon ground turmeric, (optional for colour)
- 1 teaspoon vanilla extract
- 1 - 2 tablespoons powdered sugar, (optional for dusting)
Instructions
For the shortbread crust:
- Preheat your oven to 325F (170C). Line an 8" x 8" pan with parchment paper, leaving overhang on the sides so the bars are easy to remove from the pan. Alternatively use a silicon pan.
- In a medium bowl, add the melted vegan butter, sugar, vanilla extract, and salt. Mix to combine. Lastly add the flour and mix to make a firm dough. Dump the dough into the prepared pan and press with your fingers to firmly pack and evenly spread the dough. Bake for 17 - 19 minutes until the dough is golden around the edges. Remove from the oven and if there are any bubbles you can poke them with a fork to remove them. Set aside.

For the lemon layer:
- Add the sugar and cornstarch to pan and whisk to combine. Add the plant-based milk, lemon juice, and turmeric and whisk. (It's ok if the milk curdles, it will come back together when cooked).
- Now put the pot over medium-high heat and bring to a simmer. Whisk often while simmering until the lemon filling gets thick, translucent, and bright yellow, about 5 minutes. Remove from heat and whisk in the vanilla extract.
- Pour the lemon layer onto the baked shortbread crust and evenly spread with a spatula. Allow to cool on the counter for about 30 minutes and then pop it in the fridge to cool for 1 - 2 hours, or overnight until completely chilled. When chilled you can remove bars from the pan and slice. Sprinkle the bars with powdered sugar if desired, just before serving. Store lemon bars in an air-tight container in the fridge for up to 1 week.


Nutrition
⭐ Did You Make This Recipe?
I’d love if you left a rating and comment, it helps others find the recipe and makes my day! 💕

LaVerne Bailey says
Is there a way to make these without using refined white sugar??
Sam Turnbull @ It Doesn't Taste Like Chicken says
Hi LaVerne! 😊 Yes! Organic cane sugar works perfectly as a 1:1 substitute if you'd prefer to avoid refined white sugar. I haven't tested liquid sweeteners like maple syrup or agave, as they would likely change the texture of the lemon layer. I hope you enjoy the recipe!
Toni says
Very yummy. I only added a little lemon zest and skipped turmeric
Sam Turnbull @ It Doesn't Taste Like Chicken says
I'm so glad you enjoyed them, Toni! The lemon zest sounds like a lovely addition.
Kat says
Can you use canola in this instead of vegan butter for those who are allergic to soy?
Sam Turnbull @ It Doesn't Taste Like Chicken says
Great question, Kat! I wouldn’t recommend swapping with oil here, as the butter is key for texture, but you could try a soy-free vegan butter instead 🙂
Bianca says
Terrific and easy recipe. Everybody loved them.
Sam Turnbull @ It Doesn't Taste Like Chicken says
Bianca yay!! I’m so happy you loved them 😍 Thank you so much for the sweet review!
Todd says
Easy Vegan Lemon Squares - It Doesn't Taste Like Chicken
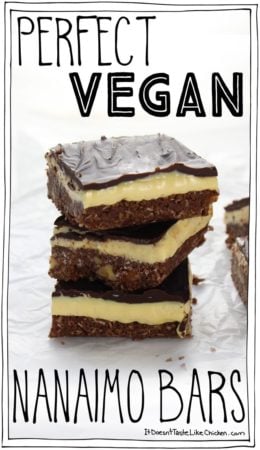
Admittedly, I’m not a huge fan of lemon squares. Mom used to make them for all family gatherings (we’re talking the 80’s and real homemade). I only chose to make these because the picture looked so nice 😆. I preferred the much sweeter squares, like the Nanaimo Bars (which I’ll be trying to make soon!).
I quite liked the way these turned out. So straightforward, easy to follow directions, and great lemon flavour (I used real lemon juice from squeezing lemons).
The real test.... I brought most of them to mom & dad, and they LOVED them! Which means they were a total success! They both bake too.
I always say this, but I want to post the pics I post on FB & Insta (tagging IDTLC of course).
[Five squares, 4 larger in the 4 compass points, and a smaller one on top in the centre. On a Sophie Conran white side plate. All dusted lightly with bright white powdered sugar on the squares and onto the slightly lesser white plate for contrast.]
Sam Turnbull @ It Doesn't Taste Like Chicken says
Todd this comment made me smile so big 😂 I LOVE that you brought them to your mom and dad and they loved them too! And your photo description is honestly so good I can picture it perfectly 😆
anne says
Made these yesterday and left them in the fridge to firm up overnight. They turned out perfect - delicious! Followed instructions exactly and had no problem getting the lemon layer to thicken. Used slightly less sugar in crust and just a cup of sugar in the lemon layer. Tastes plenty sweet and lemony. Also added zest to the lemon layer. Thanks for the great and easy recipe!
Sam Turnbull @ It Doesn't Taste Like Chicken says
Hi Anne, amazing! 🍋 So happy they turned out perfectly for you!
Anne Känel says
Another Anne cutting down on sugar. 🤣Thank you because you read my mind! So glad that worked out too. I will try too!
Sarah Shiller says
My mom has made lemon bars for every Christmas. I tried this recipe and found it an epic fail. I don't know if it was the addition of the turmeric, but the recipe just does not have that same fresh lemon tang that my mom's recipe has, and the lemon filling looks murky, not a bright, crisp yellow. I can't recommend these.
Sam Turnbull @ It Doesn't Taste Like Chicken says
Sarah, thanks for sharing your experience. This recipe uses a full ½ cup of lemon juice, so the flavor should be very bright and tart when made as written, especially with fresh lemon juice. The turmeric is completely optional and is only there for color. You cannot taste it, but if it is omitted the bars will be less yellow. If the filling looked murky instead of bright and translucent, it usually means it was not cooked long enough. When properly simmered, the filling thickens and turns vibrant, just like in the photos. I hope that helps!
Michelle says
I made these and followed the instructions to a T, but even after 8 hours in the fridge they haven’t set. The top is still liquid- any idea what I may have done wrong?
Sam Turnbull @ It Doesn't Taste Like Chicken says
I’m sorry that happened, Michelle! A couple things can cause this. The lemon layer needs to be cooked until it’s fully thick, translucent, and glossy on the stove before pouring it over the crust, if it’s slightly undercooked, it won’t set properly. Another common issue is covering the bars while they’re still warm, which can cause condensation and make the top stay wet. I recommend letting them cool uncovered before chilling. I hope that helps for next time!
Frances says
I made these and served to 3 friends. The only change I made was to add lemon zest along with the lemon juice. We all agreed there is way too much of the lemon custard part in relation to the cookie crust part. Taste is good. If I make again, I will reduce the filling by half. I may also put some crunchy bits made like the crust on top.
Sam Turnbull @ It Doesn't Taste Like Chicken says
Hi Frances! The lemon to cookie crust ratio is classic, but if you want to reduce the lemon next time, go for it. Love the idea of adding zest, and crunchy topping bits sound delicious!
Anne Känel says
Is the caloric info per piece or for the whole cake?
Sam Turnbull @ It Doesn't Taste Like Chicken says
The nutrition is per bar (recipe makes 9 large bars). I just updated the nutrition info for you so it is clearer 🙂
Anne Känel says
Thank you dear! PS your ginger snap cookie recipe is so awesome - we plan to sell these cookies in a slightly different form in our tiny cafe in Germany! Thank you for the inspiration. I will keep trying more stuff and see what else works for it 🤗🥰
Sam Turnbull @ It Doesn't Taste Like Chicken says
Oh I love that! I hope they become a bestseller!!
Stephani says
Super easy & delicious!
Jess @ It Doesn't Taste Like Chicken says
Yay!
Sue says
Wow!! These taste just like lemon meringue pie!! I used gf flour, coconut sugar and some lemon zest in the crust. Also lemon zest in the filling. Perfect!!
Sam Turnbull @ It Doesn't Taste Like Chicken says
Yay! So happy you enjoyed them Sue! And so thrilled you were able to make them gluten-free too! Thanks for sharing your tips 🙂
Anne Känel says
Did the color not change much with coconut sugar?
Sue says
Correction: I only used the coconut sugar in the crust. Used regular white sugar in the curd to maintain the lemon color.
Kat says
These are delicious and my non vegan family loved them too. They did however have an issue with staying wet on top so any powdered sugar disappears. Any suggestions how to reduce the wetness? Making for a second time and will reduce the sugar by at least 1/4.
Jess @ It Doesn't Taste Like Chicken says
This can happen in warmer days for sure or if you cover the bars too soon or refrigerate them warm, as the steam gets trapped and settles on the top. We recommend letting them cool completely at room temp and then refrigerate for at least 2-4 hours before slicing.
Bonnie Higgins says
Epic fail, so disappointed and what a waste of good lemon juice.
Sam Turnbull @ It Doesn't Taste Like Chicken says
Hi Bonnie, Oh no, I’m so sorry to hear the recipe didn’t turn out for you! That’s definitely not the usual feedback I get on this one, so I’d love to help troubleshoot if you’re open to it. Did you happen to make any substitutions or run into any specific issues during the process? I really appreciate the feedback and would love to help if I can!
Tanya says
Uh oh... I can't stop eating these! Addictive, simply the best. I literally hide in shame when my family asks "hey where did the lemon bars go?" 🤪 thank you for this recipe!
Jess @ It Doesn't Taste Like Chicken says
Hahaha too funny! But we're thrilled you love them so much!
MrsJDT says
Hello! We just made your Eggless Lemon Curd the other day to top an Eggless Cheesecake when company came (we have 3 egg allergies in our family). The curd was so easy to make, and turned out perfectly! Even our non-allergic guests were impressed. Back for more recipes. Thanks so much!!!
Sam Turnbull @ It Doesn't Taste Like Chicken says
Amazing! I am so happy you enjoyed it 🙂
Al says
I followed the recipe completely and it ended up like pudding consistency. It tasted good, but it just wasn't the right consistency. Did I do something wrong?
Sam Turnbull @ It Doesn't Taste Like Chicken says
Hi Al, the cornstarch is what thickens the lemon filing. Did you cook the filling until it got thick and translucent? The filling will then set in the fridge when cooled overnight. The lemon top will be gooey and delicious but not runny. I hope that helps!